


To guide you in your planning, here are the elements to be expected before undertaking your compressed air system installation project in your workshop or home garage. Take the time to plan each step of the process and, if necessary, do not hesitate to call on a Topring expert to help you.
Things to consider before starting your installation project
Read the installation guide carefully
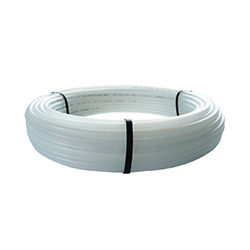
Take the time to read the installation guide carefully before starting. The guide is included in the box with the compressed air system kit, and you can also download it at any time on the product website page.
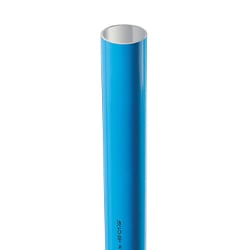
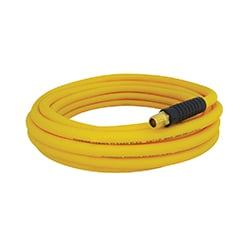
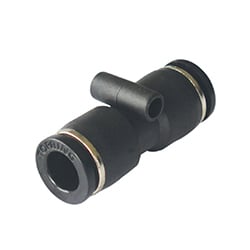
You will find information on how to cut a tube, the steps of assembling a tube into a fitting, recommendations for the installation of mounting brackets, as well as important warnings for the safe installation and use of compressed air.
Have a heated workshop or home garage
A workshop or home garage that is heated is essential! The ambient temperature should not fall below freezing. Otherwise, this will create the formation of condensation in your compressed air system without the use of proper filtration. It is recommended during installation, to distance the network as much as possible from entrance ways to avoid any direct exposure to cold winter air.
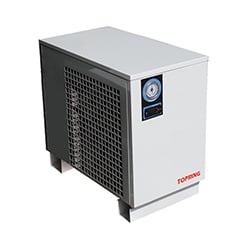
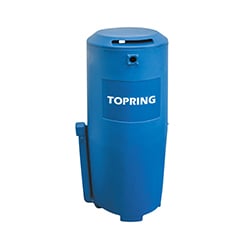
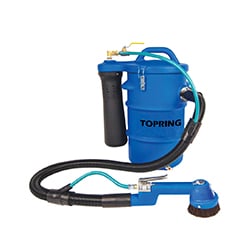
Choosing your compressor
The compressed air system assembly must be connected to a compressor with an integrated tank and a maximum power of 5 HP. This type of compressor will give you the power to use a variety of air tools.
Why have a built-in air tank? Without a tank, the temperature of the compressed air at the compressor outlet will be too high. The maximum operating temperature of the tube provided is 70 °C.
⚠️Important ⚠️
When installing your compressed air system, your compressor must always be turned off and the residual air must be purged.
Tip from our experts
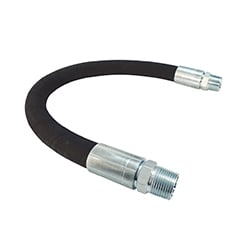
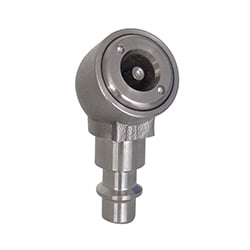
Connect your compressor to the compressed air system by means of a quick coupling and a plug that is included in the package. This will allow you to easily disconnect your compressor from the network for outdoor work.
Prepare a freehand layout
Before you create your compressed air system, clear the space of any bulky objects. Using a freehand layout, consider the dimensions of your workshop or home garage, the location of the compressor, the doors, including the garage door, the distance to be covered and the required length of the drops where the aluminum manifolds will be installed.
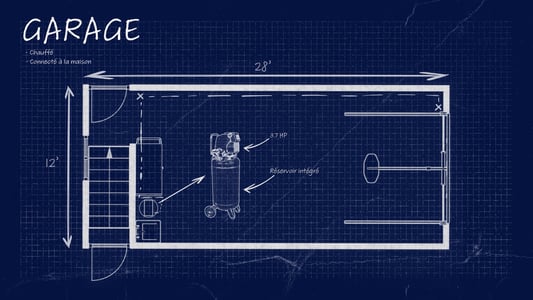
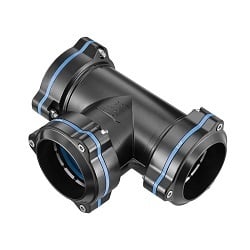
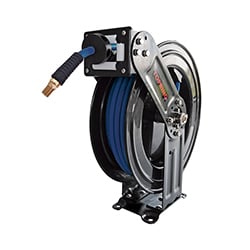
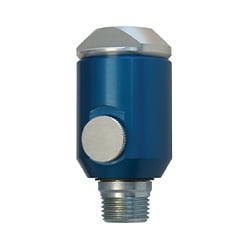
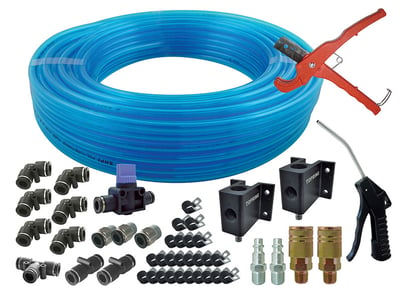
With 2 aluminum manifolds included in the set, you can plan for two air outlets in your compressed air system. We recommend one on each end of your shop or garage. This will allow you, for example, to inflate tires and operate air tools in different places. Attaching the manifolds to the wall will secure the tube from the weight and movements of your tools. A height of 4 feet from the ground floor is recommended.
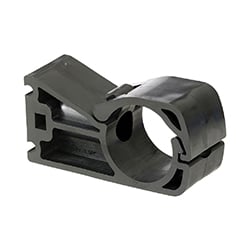
Next, mark the places where the mounting brackets will be installed to support the pneumatic tube. The spacing of 16 inches is recommended between each support and on each side of the 90° elbow fittings provided (installation in the corners of walls).
Additional equipment and tools
In addition to the kit, here is a list of complementary materials and tools to gather before your installation:
- Stepladder
- Drill and drill bits
- Wood screws No. 10 w/ 3/4" round (pan) head vs. flathead
- Tape measure
- Wrench (2)
- PTFE tape
- Level
- Safety glasses
- Pencil
Test your compressed air system
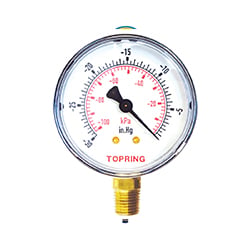
Your installation is complete, and you are now ready to test your compressed air system under pressure. The pressurization must be done in 2 steps:
- Do a preliminary test by gradually increasing the pressure to a maximum of 43.5 PSI (3 BAR). This way, it is possible to identify possible leaks or anomalies in the system and be able to make the corrections. This will also remove any debris remaining in the system during installation.
- Increase the pressure gradually and steadily, i.e., 14.5 PSI (1 BAR) every 5 seconds until the operating pressure is reached.
Once the desired pressure is reached, it must be constant, without significant drop, for at least 10 minutes. After the first 48 to 72 hours, check connections and listen for audible noises.
.
Maintenance
Check the status of your compressed air system installation annually. Pay attention to the condition of the tubes if there are air leaks or if there are damaged parts to replace.
