


Series 55 - Instruction Manual
General Rules
Technical Specifications, Replacement Parts and Repair Kits
To consult the technical specifications, replacement parts list and repair kits available for your product, please visit the product page by searching for the product number (SKU) in the main menu's search bar.
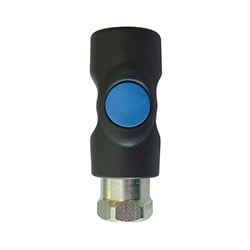
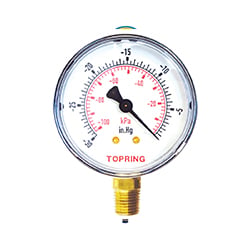
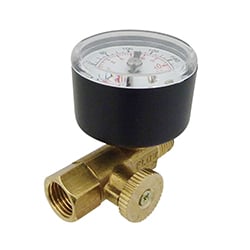
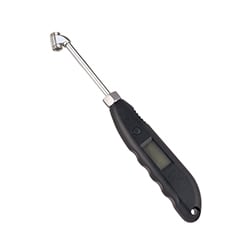
55.701 Stainless Steel Digital Pressure Gauge

SPECIFICATIONS
Fluids: Clean dry air, non-corrosive gases
Working pressure: 0 to 300 PSI
Accuracy: +/- 1% full scale
Working temperature: -10 to 60 °C
Thread: ¼ (M) NPT
Battery type: AAA (3x not included)
Initial Calibration
- To reset the display to zero:
- Press and hold the “UNIT/ZERO” button for three seconds.
Units Selection
- To select the unit of measurement:
- Press the “UNIT/ZERO” button to cycle through the available units: psi, bar, mbar, kPa, MPa, kg/cm², mH₂O, mmH₂O, inH₂O (inWC).
Display Type Selection
- To switch the lower display between peak (max.) or valley (min.):
- Single-click the “PEAK” button.
- To reset the peak display to continuous:
- Press and hold the “PEAK” button for three seconds.
Display Lighting Selection
- To activate the display lighting:
- Press the “LIGHT BULB” icon.
- To enter the lighting duration programming mode:
- Press and hold the “LIGHT BULB” icon for three seconds.
- To set the lighting duration:
- Press the “UNIT/ZERO” button to switch between the units and tens digit.
- Press the “LIGHT BULB” icon to adjust the number.
- Press the “PEAK” button to save the programmed duration and exit.
Additional Information
- Ensure the device is properly powered and the battery is fully charged before performing any calibration or measurements.
- When switching units, ensure that the current measurement has been noted or recorded to prevent any data loss.
- Handle the device with care, avoiding exposure to extreme temperatures, moisture, and direct sunlight to ensure accurate readings and longevity of the device.
- If the device is not responding or behaving unexpectedly, perform a soft reset by removing and reinserting the battery.
For further assistance or troubleshooting tips, contact customer support.